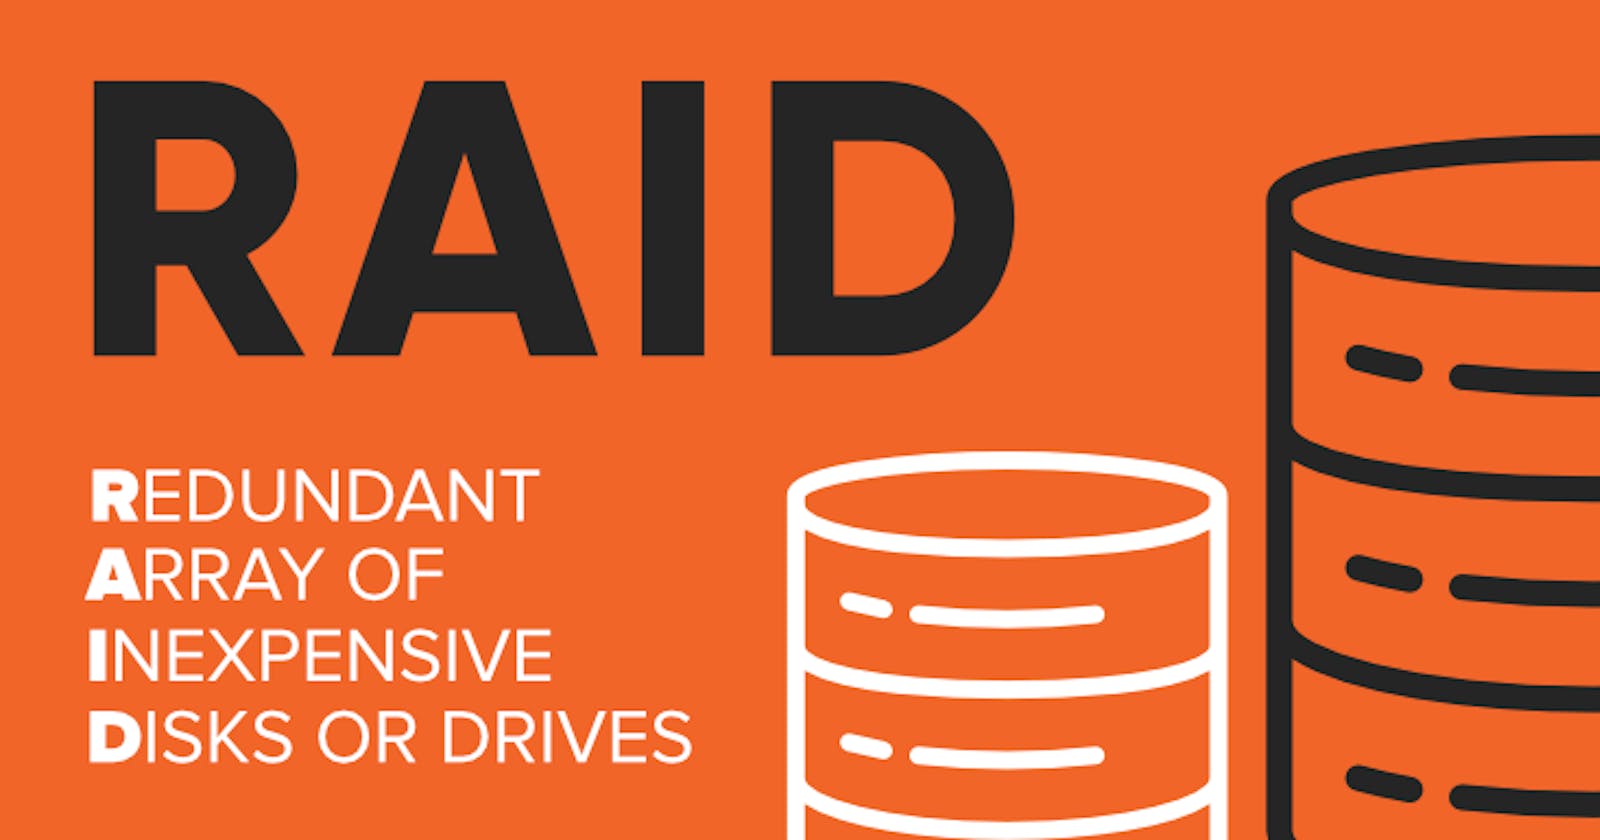


RAID (Redundant Array of Independent Disks) is a technology that combines several physical hard drives into one logical unit. To help you understand it better, let's use a bookshelf analogy. Imagine the bookshelf is like your computer storage, and the books on it are your hard drives. RAID is like organizing these books in different ways to achieve specific goals.
There are various types of RAID, each with its unique way of organizing data:
• RAID 0: It's like a story that you want to read quickly. Instead of keeping the entire story in one book, you cut the story into pieces and spread them across multiple books. Each book (hard drive) contains a part of the story. When you want to read the whole thing, you grab all the books simultaneously, and since you're reading from multiple books at once, it's faster. However, if one book goes missing or gets damaged, you won't be able to enjoy the complete story. So, RAID 0 provides faster reading but no backup.
• RAID 1: Let's say you have precious books with a fantastic story, and you want to make sure they're always protected. What do you do? You create an identical copy (mirror) of that book and place it right next to the original on the shelf. Each book (hard drive) now has the same story. If something happens to one book, the other is there as a backup. While this ensures safety, reading might be a bit slower because you have to read the same story from two different books.
• RAID 2: Imagine you have a library of binary code that you want to organize in a way that provides speed and corrects errors in case some bits get mixed up. RAID 2 is unique. Instead of organizing data in traditional files, it deals with individual bits of data. Each bit is striped across different books, much like RAID 0. However, in RAID 2, a special kind of code called Hamming Code is used. This code not only helps detect errors but also corrects them. For Hamming code, think of each binary bit as a word, and the Hamming Code as a set of dictionaries. If a dictionary is missing or damaged, you can use the remaining dictionaries to figure out the correct word, ensuring that your binary information stays accurate.
• RAID 3: Imagine having a fantastic collection of books, and you want to create a special book (the parity book) that checks for errors in the other books. In RAID 3, each page of the story is distributed across different books just like in RAID 0. However, there's one special book called the "Parity Book." This book doesn't have the actual story but contains special information that helps check if all the other books have the correct information. If any book goes missing or gets damaged, you can use the parity book to reconstruct the missing part. RAID 3 focuses on ensuring data integrity and has a balance between speed and fault tolerance.
• RAID 4: Let's say you have a thrilling adventure story and want to make sure you can read it fast while also having a safety net. In RAID 4, instead of distributing individual pages, you cut the story into blocks, and each block is distributed across different books. Similar to RAID 3, there's a dedicated "Parity Book," but now it contains the special information for each block of the story. If a book is missing or damaged, you use the parity information to rebuild the missing block. RAID 4 combines the speed of striping with the safety of dedicated parity, offering a good balance between performance and fault tolerance.
• RAID 5: Let's say you have an important story, and you want some backup but still want to keep things efficient. You cut the story into pieces like in RAID 0 but also create a special summary (parity) of the story. The summary is distributed across all books along with the story pieces. If one book goes missing, you can use the remaining pieces and the summary to recreate the lost part. It's a balance between speed and safety.
• RAID 6: Building on RAID 5, we decide that having just one summary for backup might not be enough. So, we create a second summary (double parity) to be extra cautious. Even if two books go missing, you can still recreate the lost parts using the remaining pieces and the two summaries. This provides even more safety, though it comes with some added complexity.
Now that you've got a good idea of the different types of RAID let's take a look at how to configure RAID arrays, set up encrypted volumes, and implement disk quotas for user management.
CONFIGURING RAID USING mdadm:
Configuring RAID with mdadm provides redundancy, allowing the system to continue functioning even if one disk fails. It protects against data loss due to hardware failures by distributing data across multiple disks. Additional disks can be easily added to a RAID array to increase storage capacity or performance.
Install mdadm : Ensure that
mdadmis installed on your system:sudo apt-get update sudo apt-get install mdadmIdentify Disks: Identify the disks you want to use for the RAID array (e.g.,
/dev/sdband/dev/sdc).Create RAID 1 Array: Use
mdadmto create a RAID 1 array with the identified disks:sudo mdadm --create --verbose /dev/md0 --level=1 --raid-devices=2 /dev/sdb /dev/sdc/dev/md0: The logical name for the RAID array.--level=1: Specifies RAID level 1 (mirroring).--raid-devices=2: The number of disks in the array./dev/sdb /dev/sdc: The physical disks to be included.
Monitor RAID Status: Monitor the status of the RAID array:
sudo mdadm --detail /dev/md0This command provides information about the RAID array, including its status, health, and member disks.
Create Filesystem: Create a filesystem on the RAID array (e.g., ext4):
sudo mkfs.ext4 /dev/md0Mount RAID Array: Create a mount point and mount the RAID array:
 sudo mkdir /mnt/myraid #This directory will be used as the mount point for the RAID array.
 sudo mount /dev/md0 /mnt/myraid
Automount RAID on Boot (Optional): Edit
/etc/fstabto ensure the RAID array is mounted automatically on boot:echo '/dev/md0 /mnt/myraid ext4 defaults 0 0' | sudo tee -a /etc/fstabAdjust the mount point and filesystem type based on your configuration.
SETTING UP ENCRYPTED VOLUMES USING cryptsetup :
1. Install cryptsetup:
sudo apt-get install cryptsetup
sudo: Execute the command with superuser (root) privileges.apt-get: Package management command for Debian-based systems (like Ubuntu).install: Subcommand used to install packages.cryptsetup: The package name for the utility used for setting up encrypted volumes.
2. Encrypt a Partition:
Identify the partition you want to encrypt (e.g., /dev/sdb1):
sudo cryptsetup luksFormat /dev/sdb1
sudo: Execute the command with superuser privileges.cryptsetup: The utility for managing encrypted volumes.luksFormat: Subcommand to initialize a LUKS (Linux Unified Key Setup) partition on the specified device (/dev/sdb1in this case).
Encrypt the partition:
sudo cryptsetup open /dev/sdb1 encrypted_volume
sudo: Execute the command with superuser privileges.cryptsetup: The utility for managing encrypted volumes.open: Subcommand to open the LUKS partition and create a mapping namedencrypted_volume./dev/sdb1: The device representing the LUKS-encrypted partition.
3. Create Filesystem and Mount Encrypted Volume:
Create a filesystem on the encrypted volume:
sudo mkfs.ext4 /dev/mapper/encrypted_volume
sudo: Execute the command with superuser privileges.mkfs.ext4: Command to create an ext4 filesystem on the specified device (/dev/mapper/encrypted_volume).
Create a mount point and mount the encrypted volume:
sudo mkdir /mnt/encrypted
sudo mount /dev/mapper/encrypted_volume /mnt/encrypted
sudo mkdir /mnt/encrypted: Create a directory named/mnt/encryptedto serve as the mount point.sudo mount /dev/mapper/encrypted_volume /mnt/encrypted: Mount the encrypted volume (/dev/mapper/encrypted_volume) on the previously created mount point (/mnt/encrypted).
4. Unmount and Close Encrypted Volume:
Unmount the encrypted volume:
sudo umount /mnt/encrypted
sudo: Execute the command with superuser privileges.umount: Command to unmount the specified filesystem or device (/mnt/encryptedin this case).
Close the encrypted volume:
sudo cryptsetup close encrypted_volume
sudo: Execute the command with superuser privileges.cryptsetup: The utility for managing encrypted volumes.close: Subcommand to close the LUKS-encrypted volume (encrypted_volume). This step is important to ensure that the encrypted volume is properly closed before any further operations.
That's all for this blog. Hope you have got a clear idea of the RAID. Please share your feedback.